A couple weekends ago on Worldwide Knit in Public Day I went to Greenbank Mill. Of course I'll knit anytime, anywhere; however, I was compelled to go because of one thing: an indigo dyepot.
That greenish tinge and surface scum let you know that it's good to go.
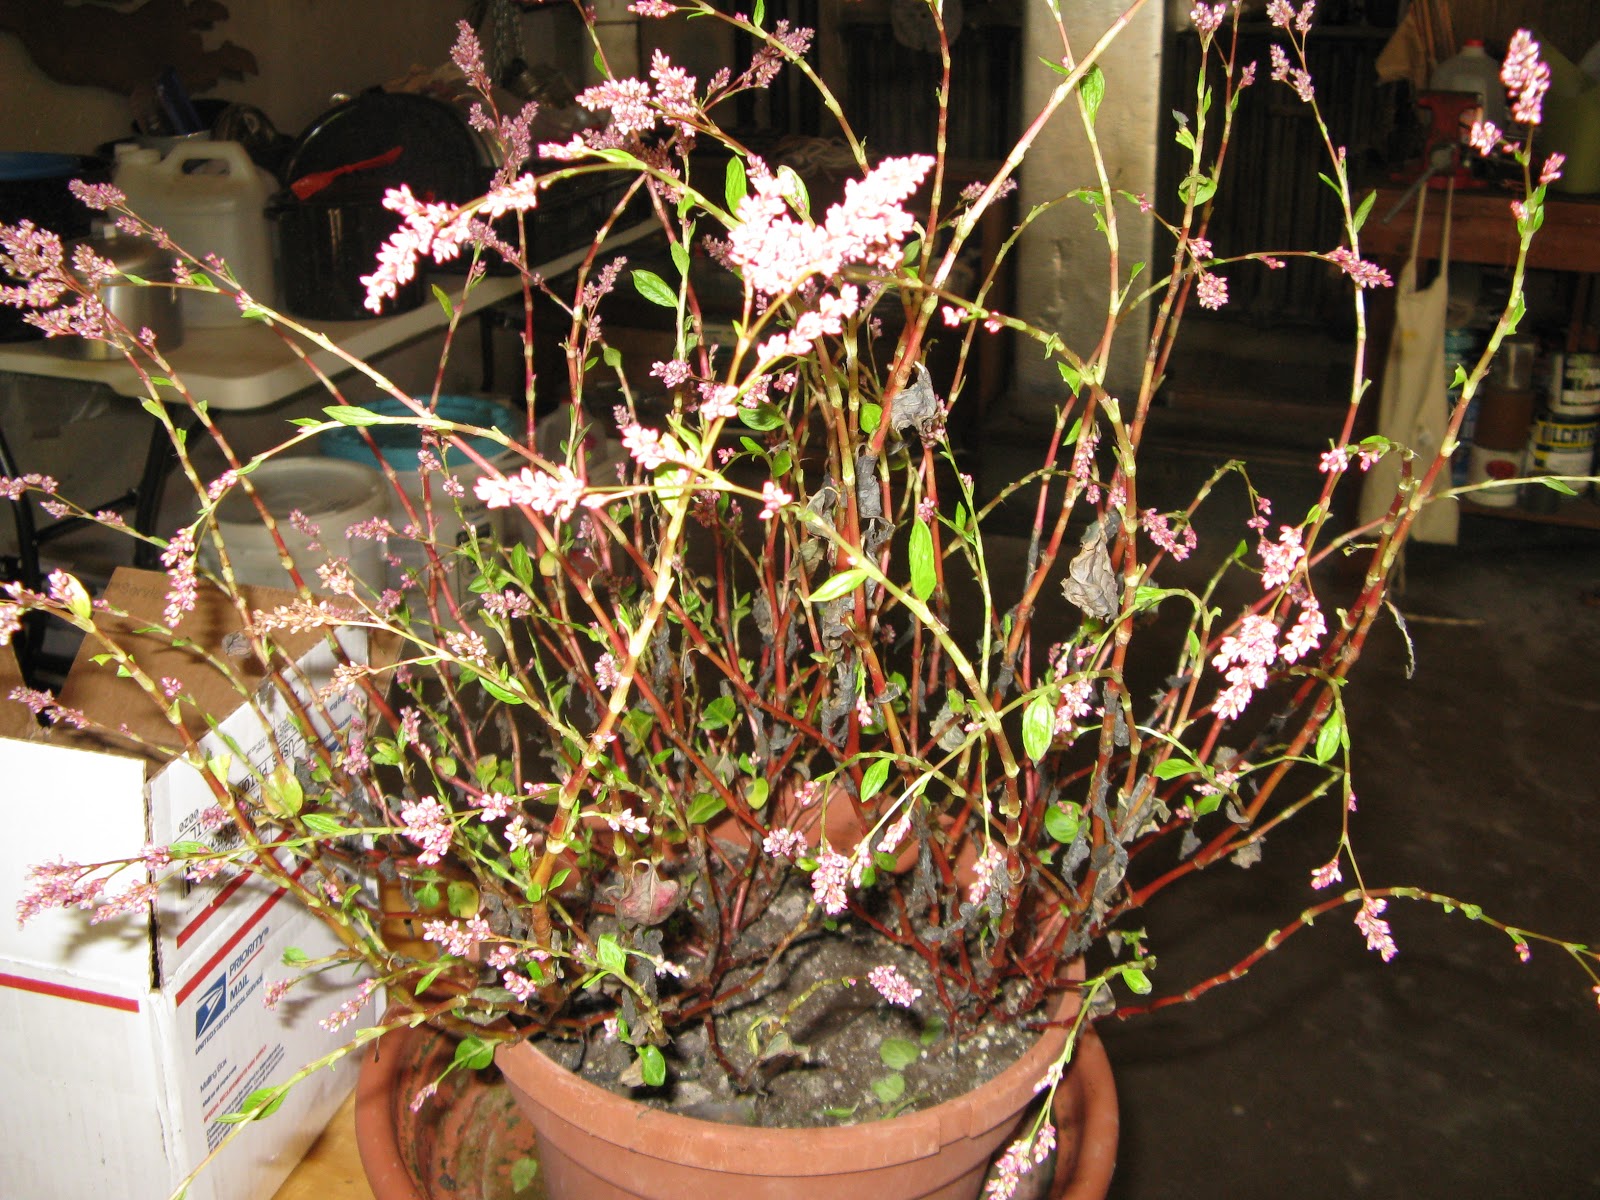
A fellow Raveler named Pallas sent an envelope of Japanese indigo seeds to me last fall. I did as instructed and put them in the fridge for the winter. Wonder of wonders, they weren't thrown out and weren't lost. What are the odds? (Hint: not good).
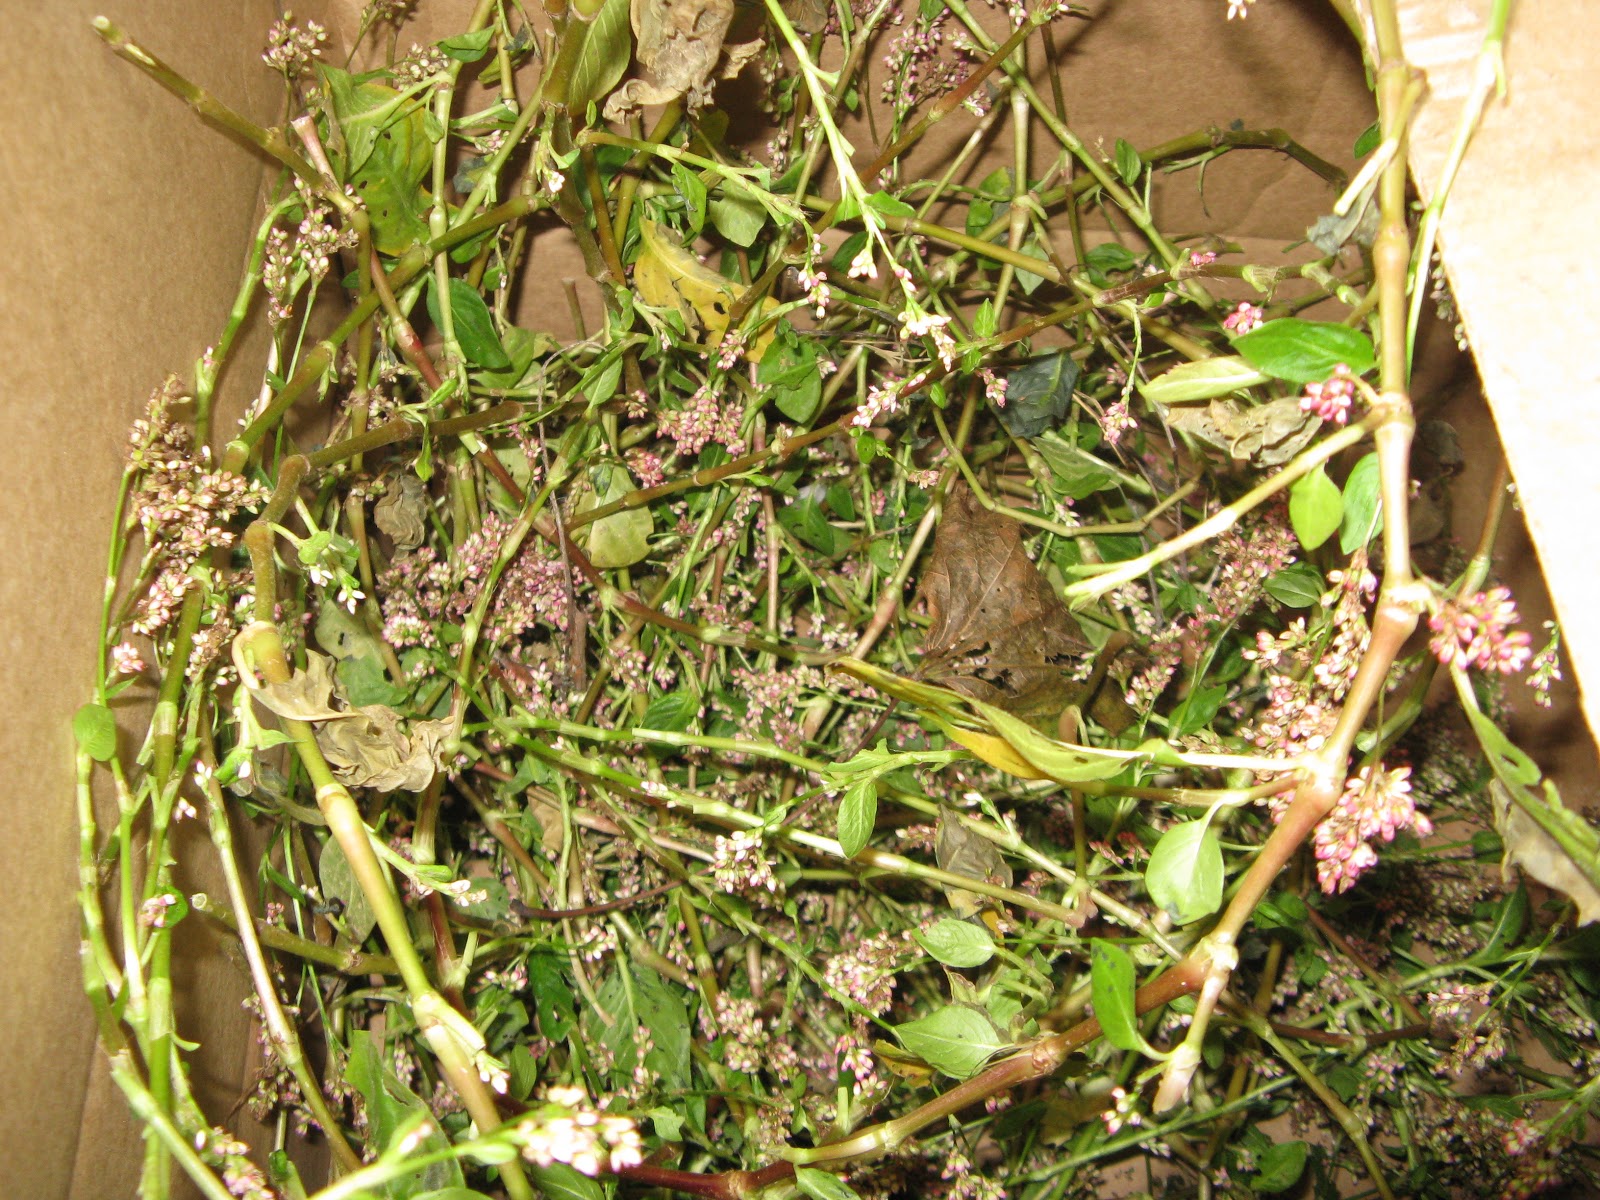
Here are some of the seedlings I grew and donated to Greenbank Mill's dye garden.
One of the attendees was a lovely young woman who'd brought along her wedding shawl for a dip in the dyepot. Since I'm terrible with names, I can't remember hers. I do, however, know that she's a friend of Heather, who was in charge of the day's dyeing. (For a bride-to-be, she was remarkably calm for being just 7 days away from the big event.)
Here is the before shot of her shawl (unblocked, naturally).
After a dunk in some hot water, it's ready for dyeing.
After just a few minutes, dyemaster Heather pulled the shawl out of the pot and made sure that every bit of the knitting had a chance to be exposed to the air. With indigo, you have to go on a bit of faith that the blue will magically appear. When you pull the item from the dyepot, the color is initially yellow. It's only as oxygen permeates the dye that the blue develops.
And voila, a lovely blue shawl for the bride. Everyone oohed and ahhed. Dyeing with indigo never gets old.
I hope that Heather posts pictures of her friend wearing the shawl. I'm not a girly girl and so don't get all squee-rific about weddings; however, there's just something about a handmade shawl hand-dyed with a natural plant one week before the wedding makes me just melt.
Here's my "stuff," waiting to be dyed. For this second tournament in Nerd Wars (over at Ravelry), I'm on the Supernatural Team. My project is a "dissertation," meaning that it will take me three months to complete.
So, here's the first part of my entry: nearly 1,000 yards of hand-spun unbleached Tussah silk from this year's Maryland Sheep & Wool Festival. I'm telling you, spinning that silk is just about a close to a drug-like state as I can get these days. The way it handles, the way it shines, the way it plies -- it's all just a fabulous dream. Happy happy, joy joy!
Here goes my pre-wetted silk into the hot pot.
And here it goes into the dyepot. Just look at that beautiful dark-blue scum -- mmm! (Not quite sure why the Rit dye box was there ... maybe Heather brought it along as a backup?)
Just look at that! You can see that the yarn is primarily yellow. If you look at about the 11:00 position, though, you can see where the yarn is turning blue. It must have been just above the top of the dye.
And here we go. The yellow gradually gives way to a faint blue, then a teal-ish blue.
The blue just keeps developing. Now it's more of a Wedgewood blue. We had quite a time with the skeins -- they tangled a bit and I'd tied each off just a tad too tightly. I only discovered the latter when I wound one of the dried skeins into a "cake." Oh, well. If I wanted absolute uniformity in my yarn, I'd just buy it, right?
The first dip left the yarn a bit lighter than I wanted, so it went back in for a second dip. And here it is, in all its glory.
See what I mean about the tangles? But this picture is really accurate when it comes to both the color and sheen of the yarn.
I just now took this picture, and Im not exactly happy with it. The day is overcast, and I just don't have the time or patience to futz around with settings, lighting, etc.
So there's the indigo silk yarn and the shawl I'll be making with it. The project has to relate to Supernatural, and my take on it is pretty much that shawls make me think of hugs, and those Winchester boys sure could use 'em (hugs, that is) as they hunt demons. Since I am my father's daughter, I also related Dean and Sam constantly having to leave one town for the next one to the leaf motif (get it? leaf / leave -- awful, I know).
And just another shot -- going for artsy here. Again, without changing the lighting. I do just love that macro setting, though. Up close and personal!
There you have it. Indigo dyeing and my awesome silk. I'll do my best to post progress pictures. I have through the end of August to complete my project. Guess I need to "man up" and cast on already!