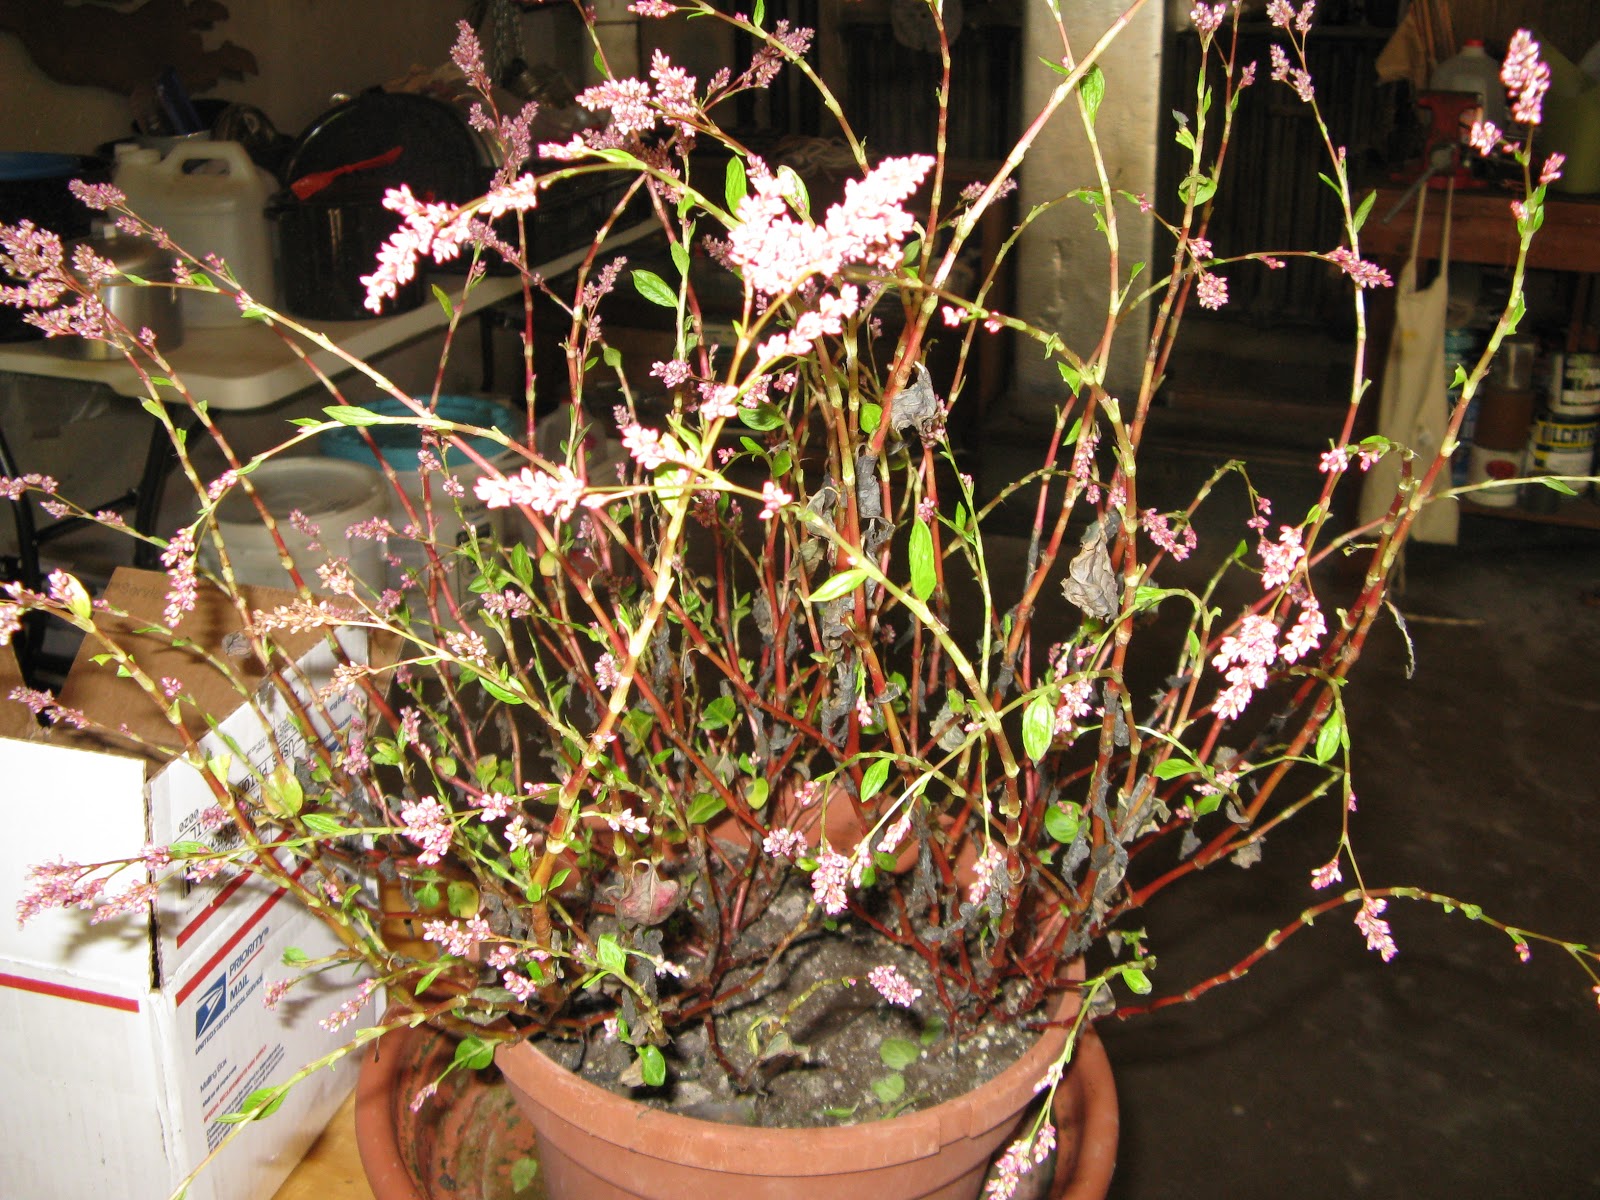
On Sunday, a bunch of FiberGuild members descended on Linda's house to brew up a batch of indigo. In the spring, I gave Heather and Natalie some Japanese indigo seedlings for their gardens. They donated their leaves to the effort, and I sacrificed my entire patch.
This is Heather's pot o' indigo, freshly denuded of leaves.
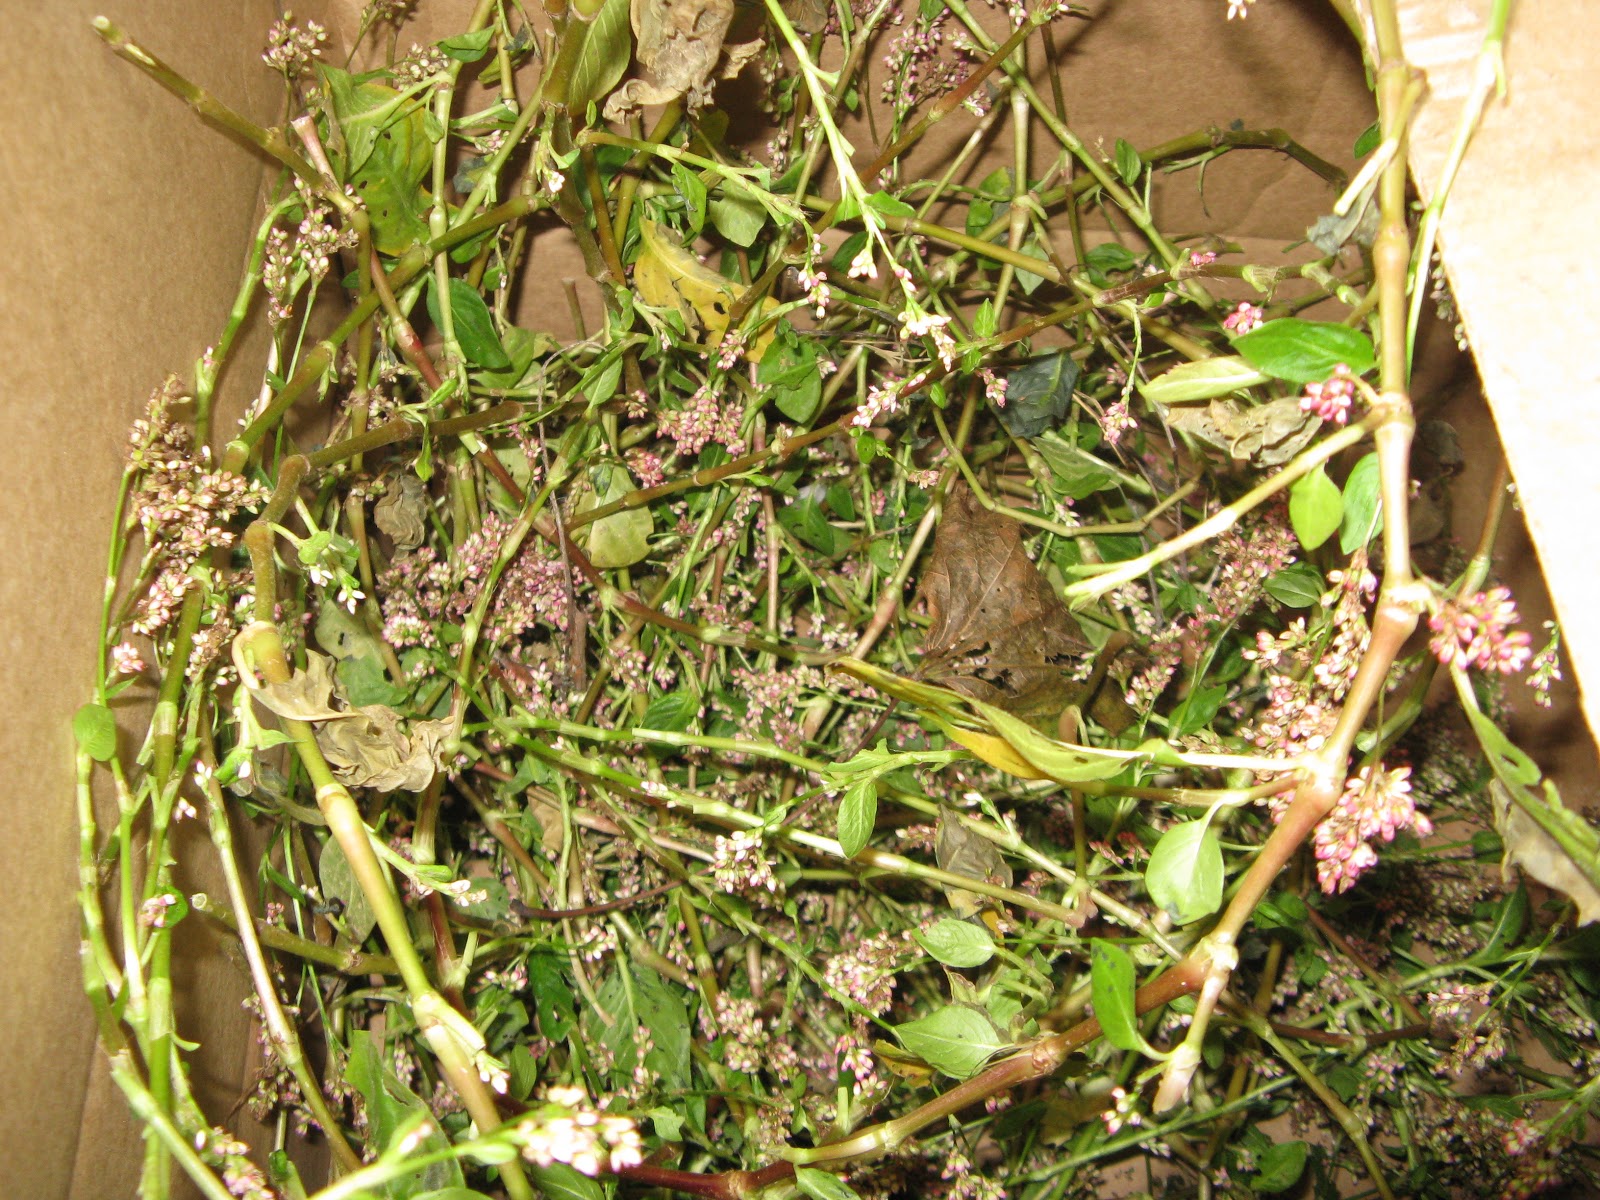
Here's what's left of my contribution. Kind of sad looking, no? Later I went over each stem in the box to capture as many seeds as I could so that those of us who want to grow indigo next year can. Right now the seeds are on a cardboard box on top of my dryer, drying out so that I can clean out all the stems, leaf remnants, and other detritus before dividing up the seeds.
And here's our pot o' leaves. Such excitement! Let me show you why.
This is a jar of indigo ... slurry? ... that Carol brought.
Mmm! Check out that color on the glass and on the scoop.
Linda put a damp skein of natural fiber into the jar.
She gently pushed it into the goo to make sure every fiber was saturated.
In less than a minute, Linda pulled her skein out. You can just see it starting to turn blue as the oxygen hits it.
She smooshed out most of the liquid back into the jar. Waste not, want not, right?
Just look at that color! And that's after very little time at all in the indigo goo. Swoon!
Meanwhile, our leaves were heating up. I don't "do" indigo dyeing unless someone else is there to take responsibility and tell me what to do. I don't do well with measuring, recording, and the like. I'm definitely a seat-of-the-pants dyer, and you can't expect to succeed with indigo if that's your approach.
While I was off playing with one of Linda's dogs, the gang had strained out the leaves, and this is what we had in the pot.
This is the lovely Stacey, our photographer extraordinaire and bright ray of sunshine. Hi, Stacey!
At some point in the process, you have to test the liquid's pH. Again, not my specialty. Anyway, if the liquid's too acid or basic (is that the right word?), you need to add washing soda. That's WASHING soda, folks, not BAKING soda. Big difference.
After the first tablespoon of washing soda was added, blue is starting to appear on the back of the spoon.
At this point, you need to remove the oxygen from the liquid. To do this, some people pour it back and forth from pot to pot; others give it a vigorous, constant stirring. What we did was use a bubbler. If you've ever had an aquarium, you know exactly what this is.
Bubbles are good!
Maisie, the younger of Linda's two dogs, was great entertainment while we were waiting for the indigo to reach the right temperature for dyeing.
"Pay attention to meeeee!"
That scummy film is a sure indicator that we're good to go!
Our very first indigo-dyed yarn! I didn't realize it until this point in the process, but neither Linda nor Carol, my go-to gals for all things dyeing, had ever made an indigo dyebath from fresh leaves. Nicely done, ladies!