Showing posts with label Ravelry. Show all posts

Thursday, April 25, 2013

My own yarn cabinet ... inspired by KnitsforLife

Early this month an image showed up on Pinterest from this wonderful blog.

The lovely Lorna had a fabulous idea for yarn storage and shared it with the world. I quickly pinned one of her images to my Fiberliciousness board and dreamed of a fantasy house in which I'd have just the right wall to have my own fiber display ... uh ... storage.

Really, if you look at Lorna's wall, it's more than mere storage. It's an ever-evolving work of art comprising different colors and textures. Form and function -- genius!

One morning I overslept and had to drive da boyz to school. Before we'd even left the neighborhood, I saw that someone had put a gun cabinet out for the garbage guys -- or someone like me -- to pick up.

"If that thing's still there when I get back, it's coming home with me," I thought.

It was there, and when I brushed away the thin coating of snow, I was delighted to see that the door was glass (unbroken, thank goodness).

I tried shoving it into the back seat of the car, but it was about 6 inches too long. So I slid it into the trunk and put my mittens in between the trunk latch and the glass.

Traveling at about 1 mile/hour, I made it home in about a week, terrified that the cabinet was going to leap out of the trunk or that I'd hear the sound of breaking glass.

Here it is, and I've already pulled out the pieces of wood on the bottom and along the back that were there to support guns.
I knew that for the pegboard to work, it would need to have a gap behind it so that the metal pegs could seat properly.
I found some scrap wood and glued them into place. It didn't take me long to realize that glue wasn't going to keep my spacers where I needed them.
Because the back of the cabinet is absolutely flat, I ran the screws in from the back. Once I'd done all six, I installed the pegboard. Then I had to redrill about three of the holes because the were off-center from the holes in the board. *sigh*

After that, I painted. And painted. And painted some more. It took about four coats of the off-white paint to really cover the darkness of the wood. My husbeast wondered why I was painting it at all. It was just too dark, too dated-looking. Besides, I wanted a light, neutral color to go with the white pegboard so that all the color would come from the yarn.

Inside, I just painted about half of the sides, top, and bottom. My yarn is going to have the royal treatment: cedar. I bought cedar tongue-and-groove boards and found it to be fairly easy to saw. I used wood glue to install the boards, then used whatever I could find to hold the pieces in place while the glue dried (i.e., three long tool handles and a rolled up yoga mat).

I still have three whole boards left over and will use them in my dresser or maybe in storage boxes or bags. I used the scraps to sort of line the drawer.
You can find the pegboard, wood glue, cedar boards, and screws at Home Depot or Lowe's. I forgot about the actual pegs while I was shopping but found them at KMart (~$2 for four pegs). I replaced the drawer pulls with plain wood ones and covered up the hole in the door where the locking mechanism had been removed with a wood knob. The knob is held on with a screw and a big washer, which let me tighten the screw and keeps the knob in place so that the hole is covered.

And here it is:
The cedar doesn't line up exactly, but that's OK. Every time I open the door that delicious scent wafts out -- mmm!
I bought a "peg" that's designed to hold screwdrivers but will end up holding my spindles.
And just because there was some yarn in a bag right where I was working, I stuck them on the pegs. Yeah, they're gray, but they'll soon be joined by a host of colors.
Now all I need to do is figure out where to put this beauty!


Sunday, November 18, 2012

The right tool for the job

Given all the sweaters I unravel, I really needed a yarn swift. The expanding metal ones left me cold, as did the wooden ones. All I could picture was them collapsing in the middle of the job, leaving a tangled mess of yarn.

A friend of mine, George, is a carpenter, so I approached him about making a swift for me. My specs were that I had to be able to wind two-yard skeins and that I had to be able to use it both horizontally and vertically.

Last weekend I picked up George's masterpiece. Here it is set up horizontally.
And here it is set up vertically.
Obviously I can't use it in the vertical orientation as shown here. I just took the picture to show that it can be done.

This is my model for this photoshoot, a lovely lavender sweater of silk, angora, and nylon.

The first thing you do is attach the end of the yarn to one of the pegs.

This is my preferred unraveling position: fabric clamped between my knees so that I can pull the yarn alternating between my left and right hand ... like a maniac.
I unravel several yards of yarn and just let it fall where it will. I'm not fussy about it. The leaves are easy to pick out, and I'll be washing the skeined yarn once I'm done anyway.
The only caveat I can give is that you don't want to get too excited and have, like, 20 yards of yarn sitting in a heap. Since you'll be winding on by pulling from the bottom of that heap, the more yardage you have lying there, the more likely you'll create a tangled mess. As always, your mileage may vary; however, I've learned my lesson. :o)

As I wind the yarn on, if I come to an end, I just tie on a new end, being sure to leave a noticeable tail to make it easier to spot when I'm knitting.
As I go, I push the yarn down to the bottom of the pegs to keep the loops exactly where they need to be: on the peg.
Once I've wound enough on or have finished a piece of fabric, I tie the skein in four places using the scrap yarn I've saved from the reclaiming process.
I use a figure eight and knot loosely. If I find that the two ends of the yarn are close enough that I can use them to tie the skein, I do it, but I finish by putting them in a bow. That way I know not to just cut the knot willy nilly when I'm ready to turn the skein into a ball.
Once it's tied off, I pull off my beautiful skein, ready to be washed.
Is it any wonder that I unravel sweaters? For just $3.75 at my local Goodwill, I can magically produce a sweater's worth (natch!) of yarn. All I have to put into it is a bit of work -- totally worth the effort!

And if I come across, say, a cashmere sweater that fits me ... that baby's coming home with me!

Monday, October 22, 2012

Dyeing at Hagley's Craft Fair

Yesterday Linda Shinn, Carol Ireland, Gerry Scarfe, Sjon Gravenhorst, and I put on a natural dyeing demonstration at the Hagley Craft Fair.
It was a beautiful fall day, and we spread out and took up quite a chunk of real estate just outside the library.
I believe these are calendula blossom petals. They didn't really give good color of any sort, but that's part of the fun of dyeing with natural materials: you never know quite what you'll get.
Even though my point-and-shoot camera doesn't do a very good job at accurately capturing true colors, I think you'll get an idea of the range of final colors we got from indigo, walnut hulls, cochineal, chrysanthemum petals, onion skins, madder, and goldenrod blossoms on wool, cotton, silk, and angora.
Linda brings along a small basket filled with naturally dyed mini-skeins. See that orange tie at around the 9:00 position? That's connecting the three yellowish skeins. All were dyed with -- gaa! drawing a blank. However, they're different because they were mordanted with different products. Interesting, no?
As I type this, these four 4-oz. lengths of roving are drying (still!) out on my deck. Left to right, they are walnut hulls (late in the dyeing session), walnut hulls (early in the dyeing session), madder (nearly exhausted dyepot), and dried yellow chrysanthemum blossoms. The walnut requires no mordant, but the madder and chrysanthemum both had alum and, I think, cream of tartar, in the dyebath. All four colors will be rolled into bumps and put into the Greenbank Mill gift shop since the roving is from the Greenbank Leicester longwool sheep.
Now is the time to begin plotting and planning on what natural dyeing you can do now and in the coming year. Have fun!

Tuesday, October 16, 2012

Indigo blues make me happy

On Sunday, a bunch of FiberGuild members descended on Linda's house to brew up a batch of indigo. In the spring, I gave Heather and Natalie some Japanese indigo seedlings for their gardens. They donated their leaves to the effort, and I sacrificed my entire patch.
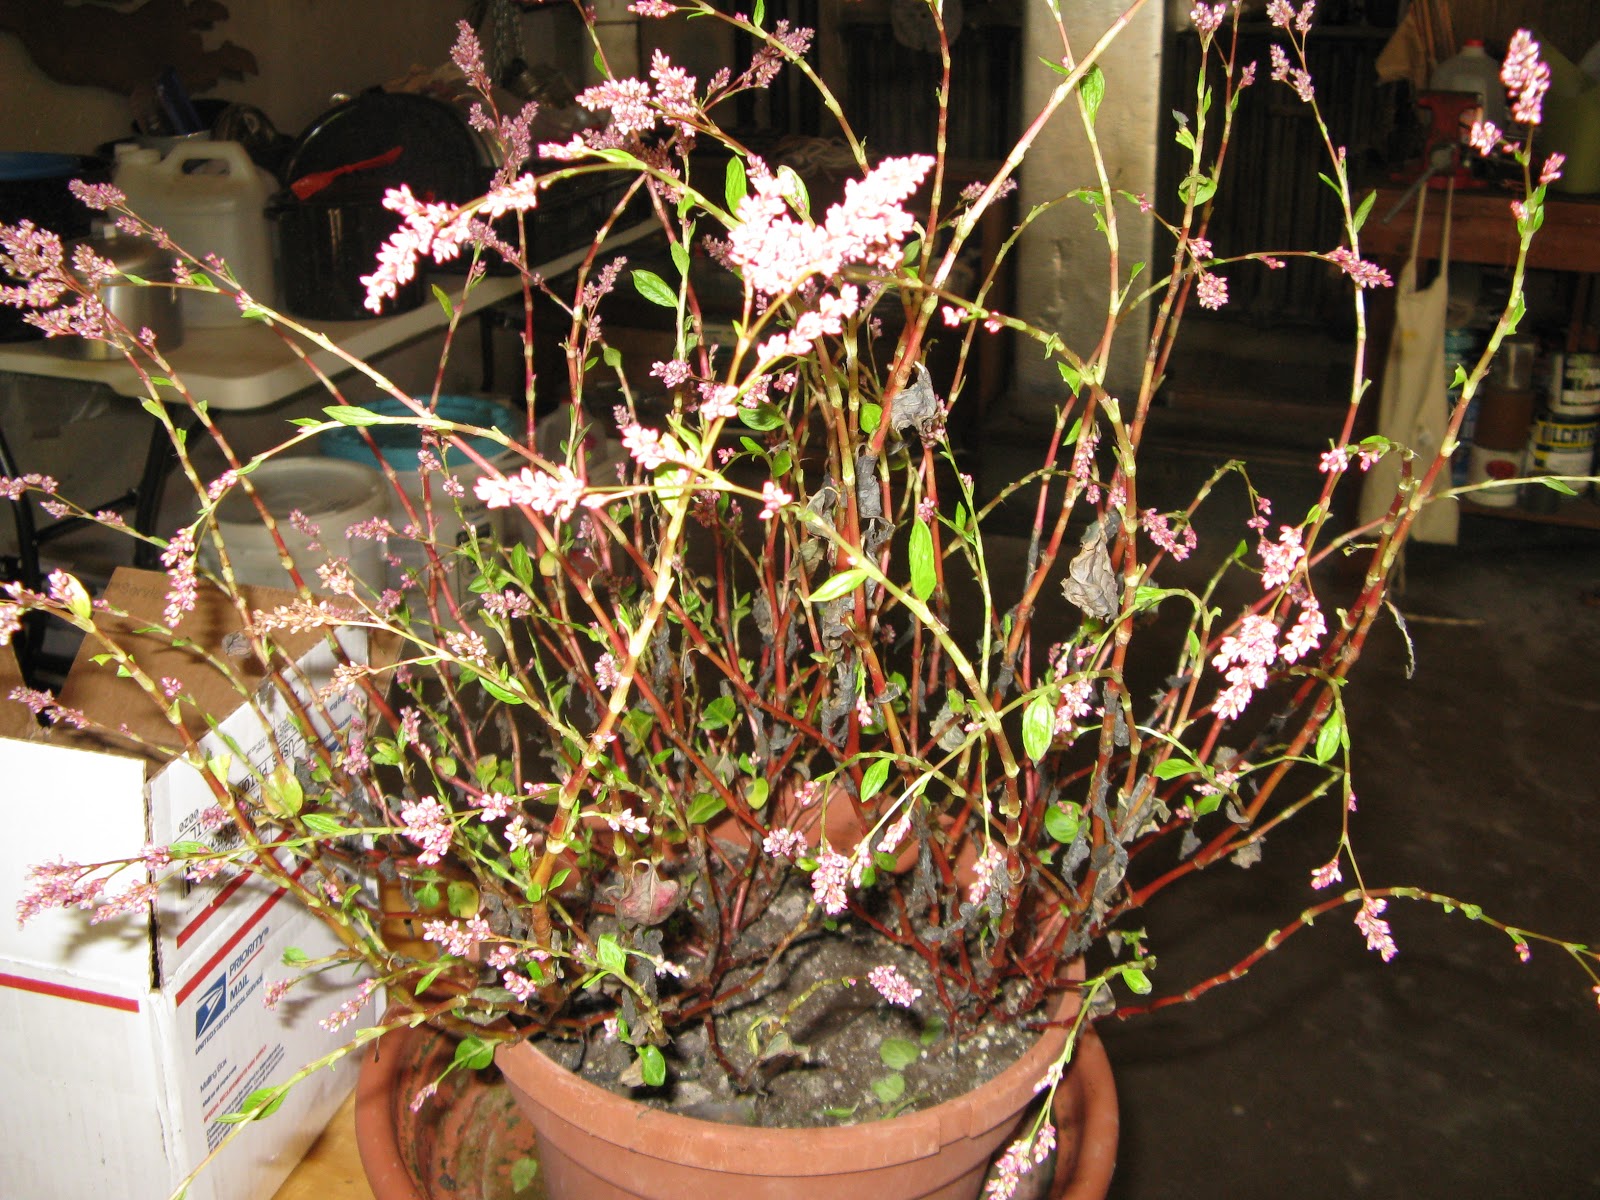
This is Heather's pot o' indigo, freshly denuded of leaves.
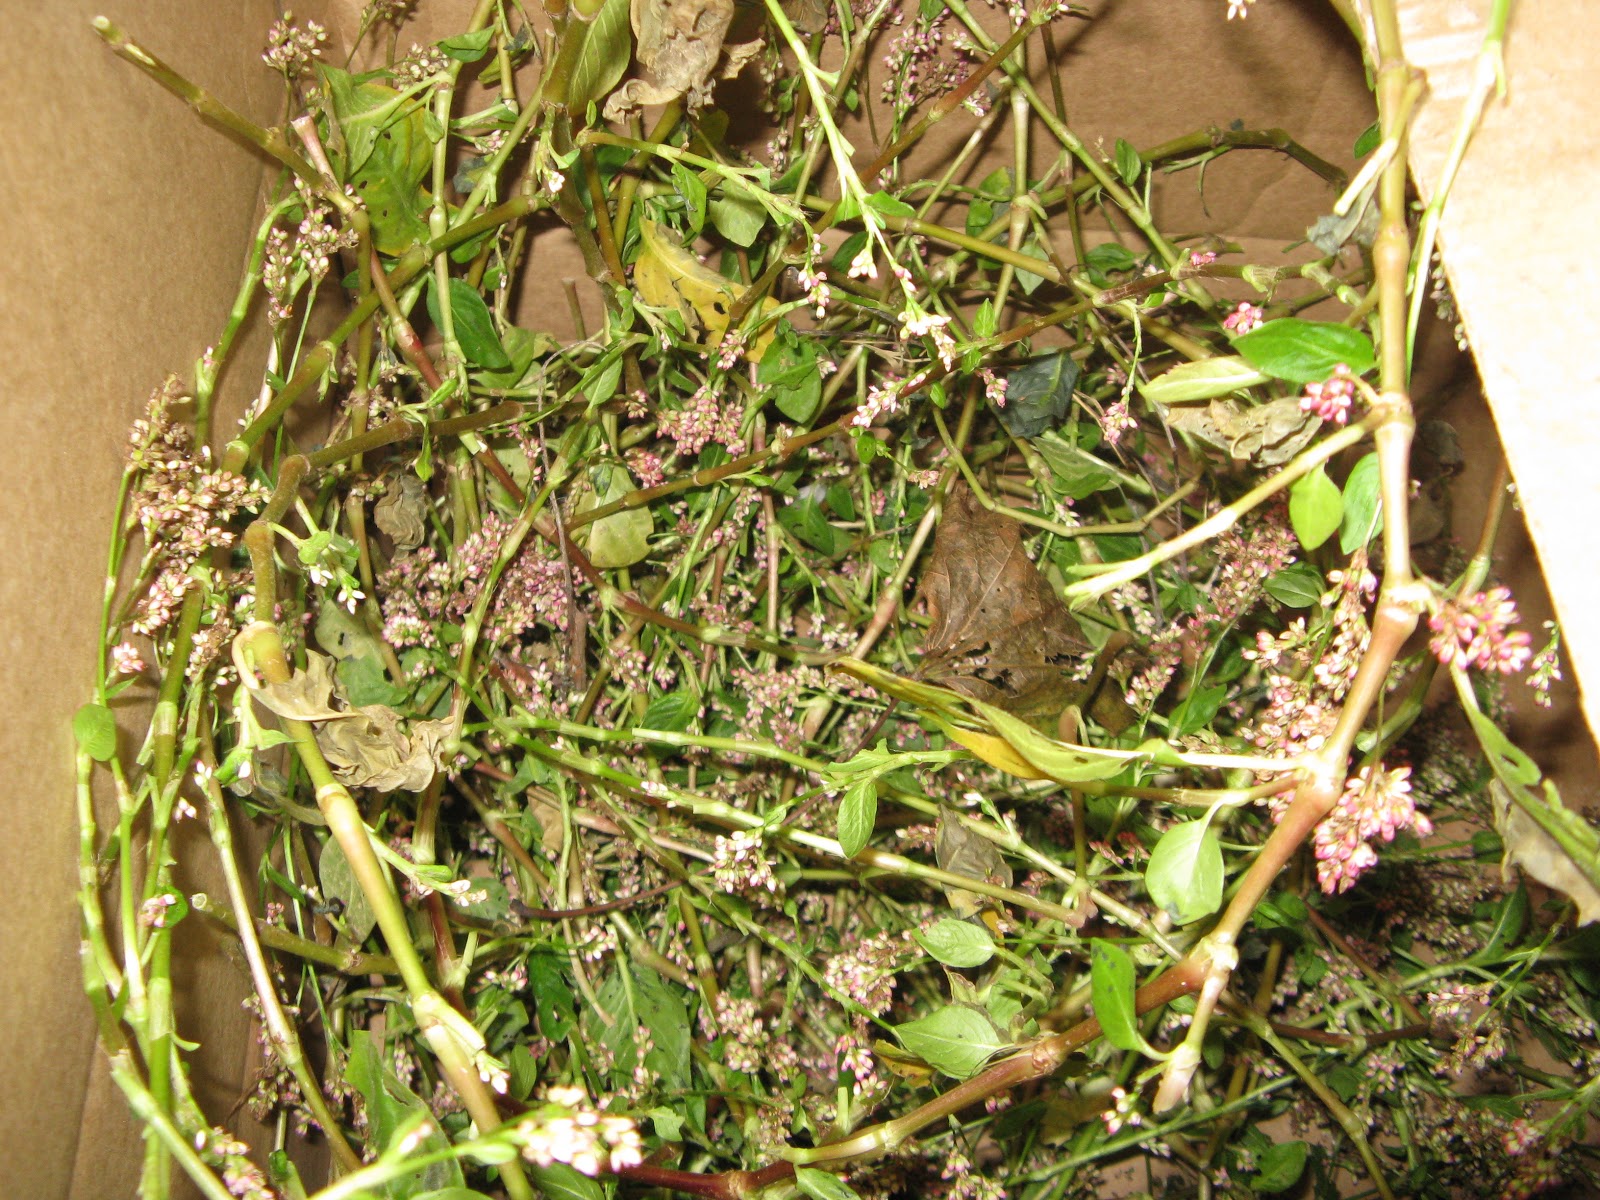
Here's what's left of my contribution. Kind of sad looking, no? Later I went over each stem in the box to capture as many seeds as I could so that those of us who want to grow indigo next year can. Right now the seeds are on a cardboard box on top of my dryer, drying out so that I can clean out all the stems, leaf remnants, and other detritus before dividing up the seeds.
And here's our pot o' leaves. Such excitement! Let me show you why.
This is a jar of indigo ... slurry? ... that Carol brought.
Mmm! Check out that color on the glass and on the scoop.
Linda put a damp skein of natural fiber into the jar.
She gently pushed it into the goo to make sure every fiber was saturated.
In less than a minute, Linda pulled her skein out. You can just see it starting to turn blue as the oxygen hits it.
She smooshed out most of the liquid back into the jar. Waste not, want not, right?
Just look at that color! And that's after very little time at all in the indigo goo. Swoon!
Meanwhile, our leaves were heating up. I don't "do" indigo dyeing unless someone else is there to take responsibility and tell me what to do. I don't do well with measuring, recording, and the like. I'm definitely a seat-of-the-pants dyer, and you can't expect to succeed with indigo if that's your approach.
While I was off playing with one of Linda's dogs, the gang had strained out the leaves, and this is what we had in the pot.
This is the lovely Stacey, our photographer extraordinaire and bright ray of sunshine. Hi, Stacey!
At some point in the process, you have to test the liquid's pH. Again, not my specialty. Anyway, if the liquid's too acid or basic (is that the right word?), you need to add washing soda. That's WASHING soda, folks, not BAKING soda. Big difference.
After the first tablespoon of washing soda was added, blue is starting to appear on the back of the spoon.
At this point, you need to remove the oxygen from the liquid. To do this, some people pour it back and forth from pot to pot; others give it a vigorous, constant stirring. What we did was use a bubbler. If you've ever had an aquarium, you know exactly what this is.
Bubbles are good!
Maisie, the younger of Linda's two dogs, was great entertainment while we were waiting for the indigo to reach the right temperature for dyeing.
"Pay attention to meeeee!"
That scummy film is a sure indicator that we're good to go!
Our very first indigo-dyed yarn! I didn't realize it until this point in the process, but neither Linda nor Carol, my go-to gals for all things dyeing, had ever made an indigo dyebath from fresh leaves. Nicely done, ladies!

Sunday, July 29, 2012

Ravellenic Games

I'm participating in Ravelry's version of the Olympic games: the Ravellenic Games (renamed after the term "Ravelympics" offended the powers that be).

Several weeks ago, a lovely lady decided that she needed to jettison a fair amount of her fiber and fiber-related tools to make room in her home and life so that she could pursue her desire to become a massage therapist. "Take it," she said. I felt like I should offer her something; however, since 1) my income is nearly nonexistent and 2) she truly wanted nothing for her treasures, I agreed to haul everything home in the dad-mobile.


Among the items was one I've wanted but had no hopes of ever having: a picker. This is a Pat Green picker, a fearsome and awesome tool that transforms clumps of fleece into clouds of fiber. It's not a tool for sissies or fools. You can do some serious damage both to body and wardrobe if you're not careful. I wound up with a small scratch and put a couple holes in a shirt before I figured out what I was doing. Safety, my dears, is the name of the game.


The fiber I was given is lovely Wensleydale, a longwool that's as shiny as can be and curly, too. It has no "kink," as does, say, merino. Still, it's soft and luminous, begging to be spun.


Picked and ready for dyeing. This batch is destined to become shades of purple, thanks again to my generous benefactor.
 

Ta-daaah!


Dyed, picked, and carded. I'm good to go!


A friend of mine, whose father owns many, many alpacas, gave me a suri fleece. She did, because she knows that I'll actually spin it up and make something. She can't wait to see the result, and neither can I!

So, until next time, I'll be spinning up a storm, fighting deep-vein thrombosis (yes, it's a medical benefit of spinning), building lovely calf muscles, and soothing my psyche at my wheel.